User Guide
Setup
For the best results insert your marker, then align with the prongs and tighten securely
In Use
Easy Glide Wheels
The wheels are suitable for most profiles.
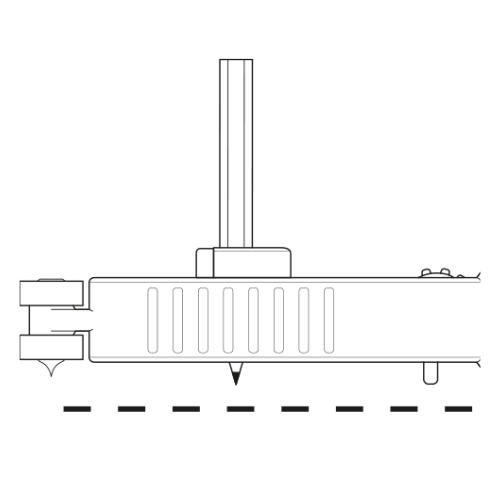
Precision Tip
The easy glide tip is used for complex profiles, such as skirtings, but can also be used for walls or surfaces that are unusually undulated, such as stone walls.
Drawing Compass
Draw perfect circles with the Profiler+® adjusting the pencil holder to set the radius.
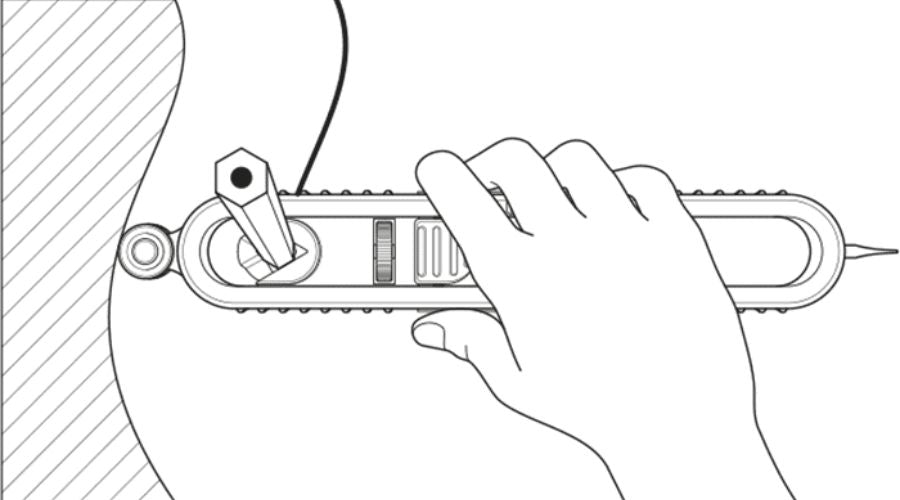
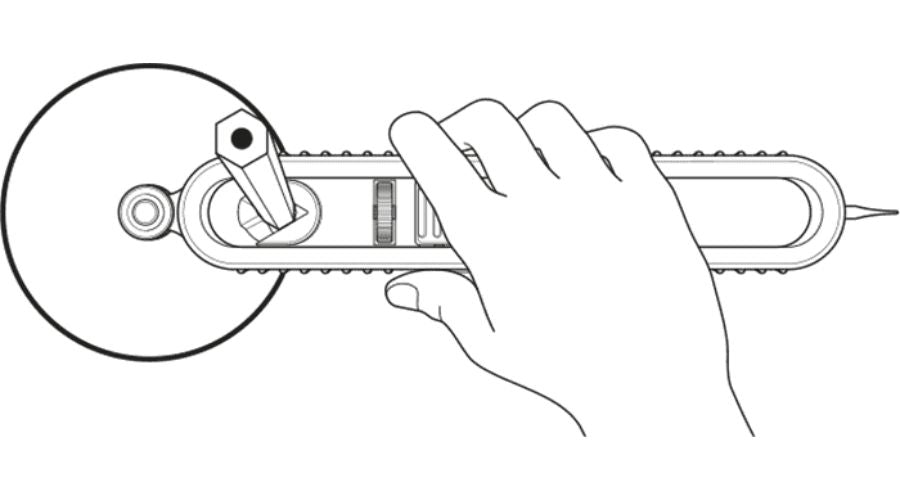
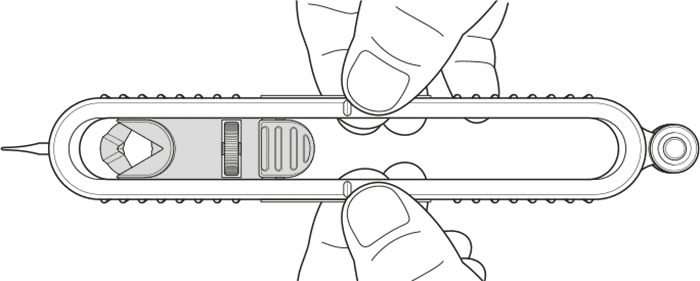
Rotating the Pencil Holder
-
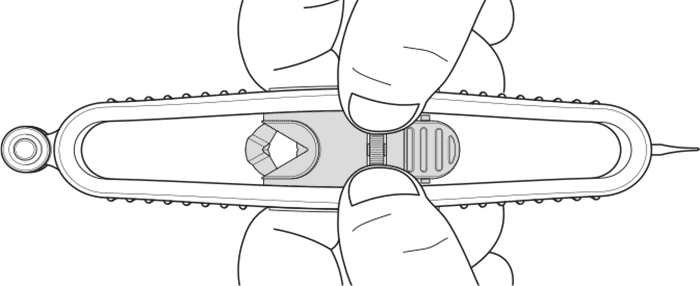
The Pencil Holder can be removed and rotated to face the opposite direction to bring the pencil closer to the easy glide tip.
-
With the Pencil Holder in the centre, grip the loop and pull apart, push the Pencil Holder out.
-
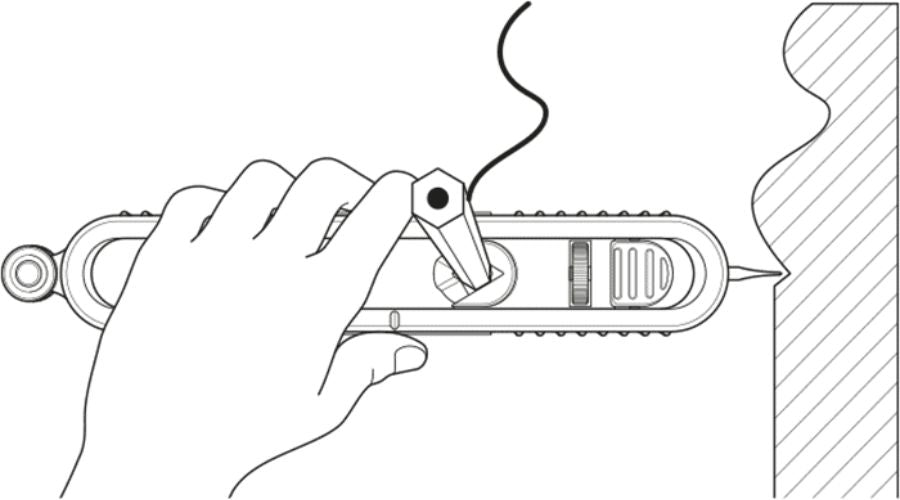
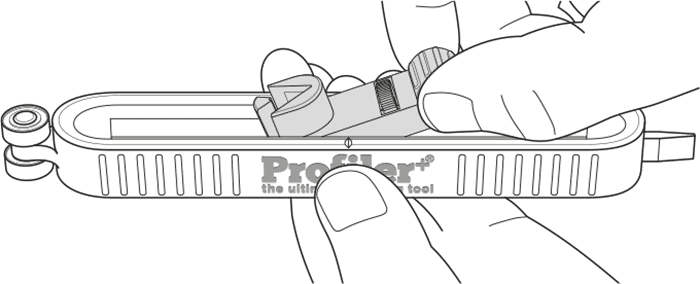
Pull the loop apart to reinsert the Pencil Holder in the opposite direction as shown.


Scribing with Profiler+
-

Step 1:
Measuring towards the edge of the material to be scribed, put a mark indicating the width or length of material that needs to remain after cutting.
-

Step 2:
With the wheels in contact with the wall, set the distance by moving the pencil holder to align the pencil point with the mark.
-

Step 3:
Steadily move the Profiler+® perpendicular to the wall along the entire length of your material to reproduce the outline of the wall.


-

Pro Tip:
Apply a gentle pressure between the pencil and thumb wheel so that the two prongs and pencil tip remain in contact with the material to stabilise the Profiler+ during scribing.
-
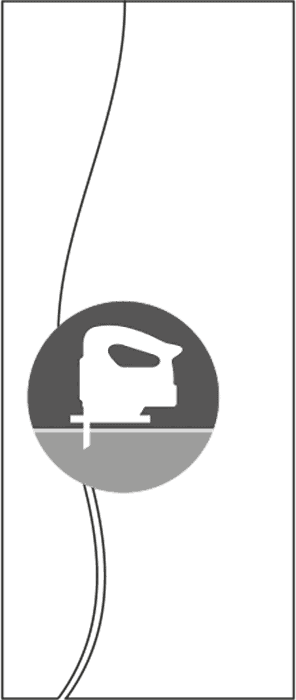
Step 4:
Cut along the line, leaving the pencil line showing on the piece you require. This allows fine adjustment after cutting still having your pencil line to work to.
-

Step 5:
Fit the material in position.


